While trying to re-learn the intricacies of Warhammer 40k again I remembered what a pain it is to show a vehicle as being “wrecked.” Many makers, including Citadel/Games Workshop, make “wrecked” markers, but none of these ever seem to have the gravitas necessary to show the drama of an exploded tank or burning transport.
While re-learning the game I found myself watching a lot of battle reports on YouTube. By far the best have been by StrikingScorpion82 whose games are both narrative and competitive. They are also filled with great personalities and cinematic moments. Scorpion also has a number of reviews and “how to” videos, my favorite being how he makes his wrecked vehicle markers. His are durable, well-built works of art. You can see his technique here:
After seeing this I wanted to make some of my own, but wanted to add a bit of effect and admittedly wanted to spend twenty dollars or less… They aren’t as dynamic as his but are MUCH better than turning a tank of its side! here’s what I did:
I started with some red flickering LED tea lights. I got mine from Amazon for $8.59:

I went for red to give it the internal smoldering look I wanted. They come in packs of twelve to give you plenty to work with.
I added some bent paper clips, which won’t be anywhere near as durable as the copper wire Scorpion uses but I had them on hand. I used Gorilla Glue white to attach them to the candles. I used two different version; one bent in half the other bent to stand all the way up with a folded hook at the top. The latter proved to be FAR easier to work with:
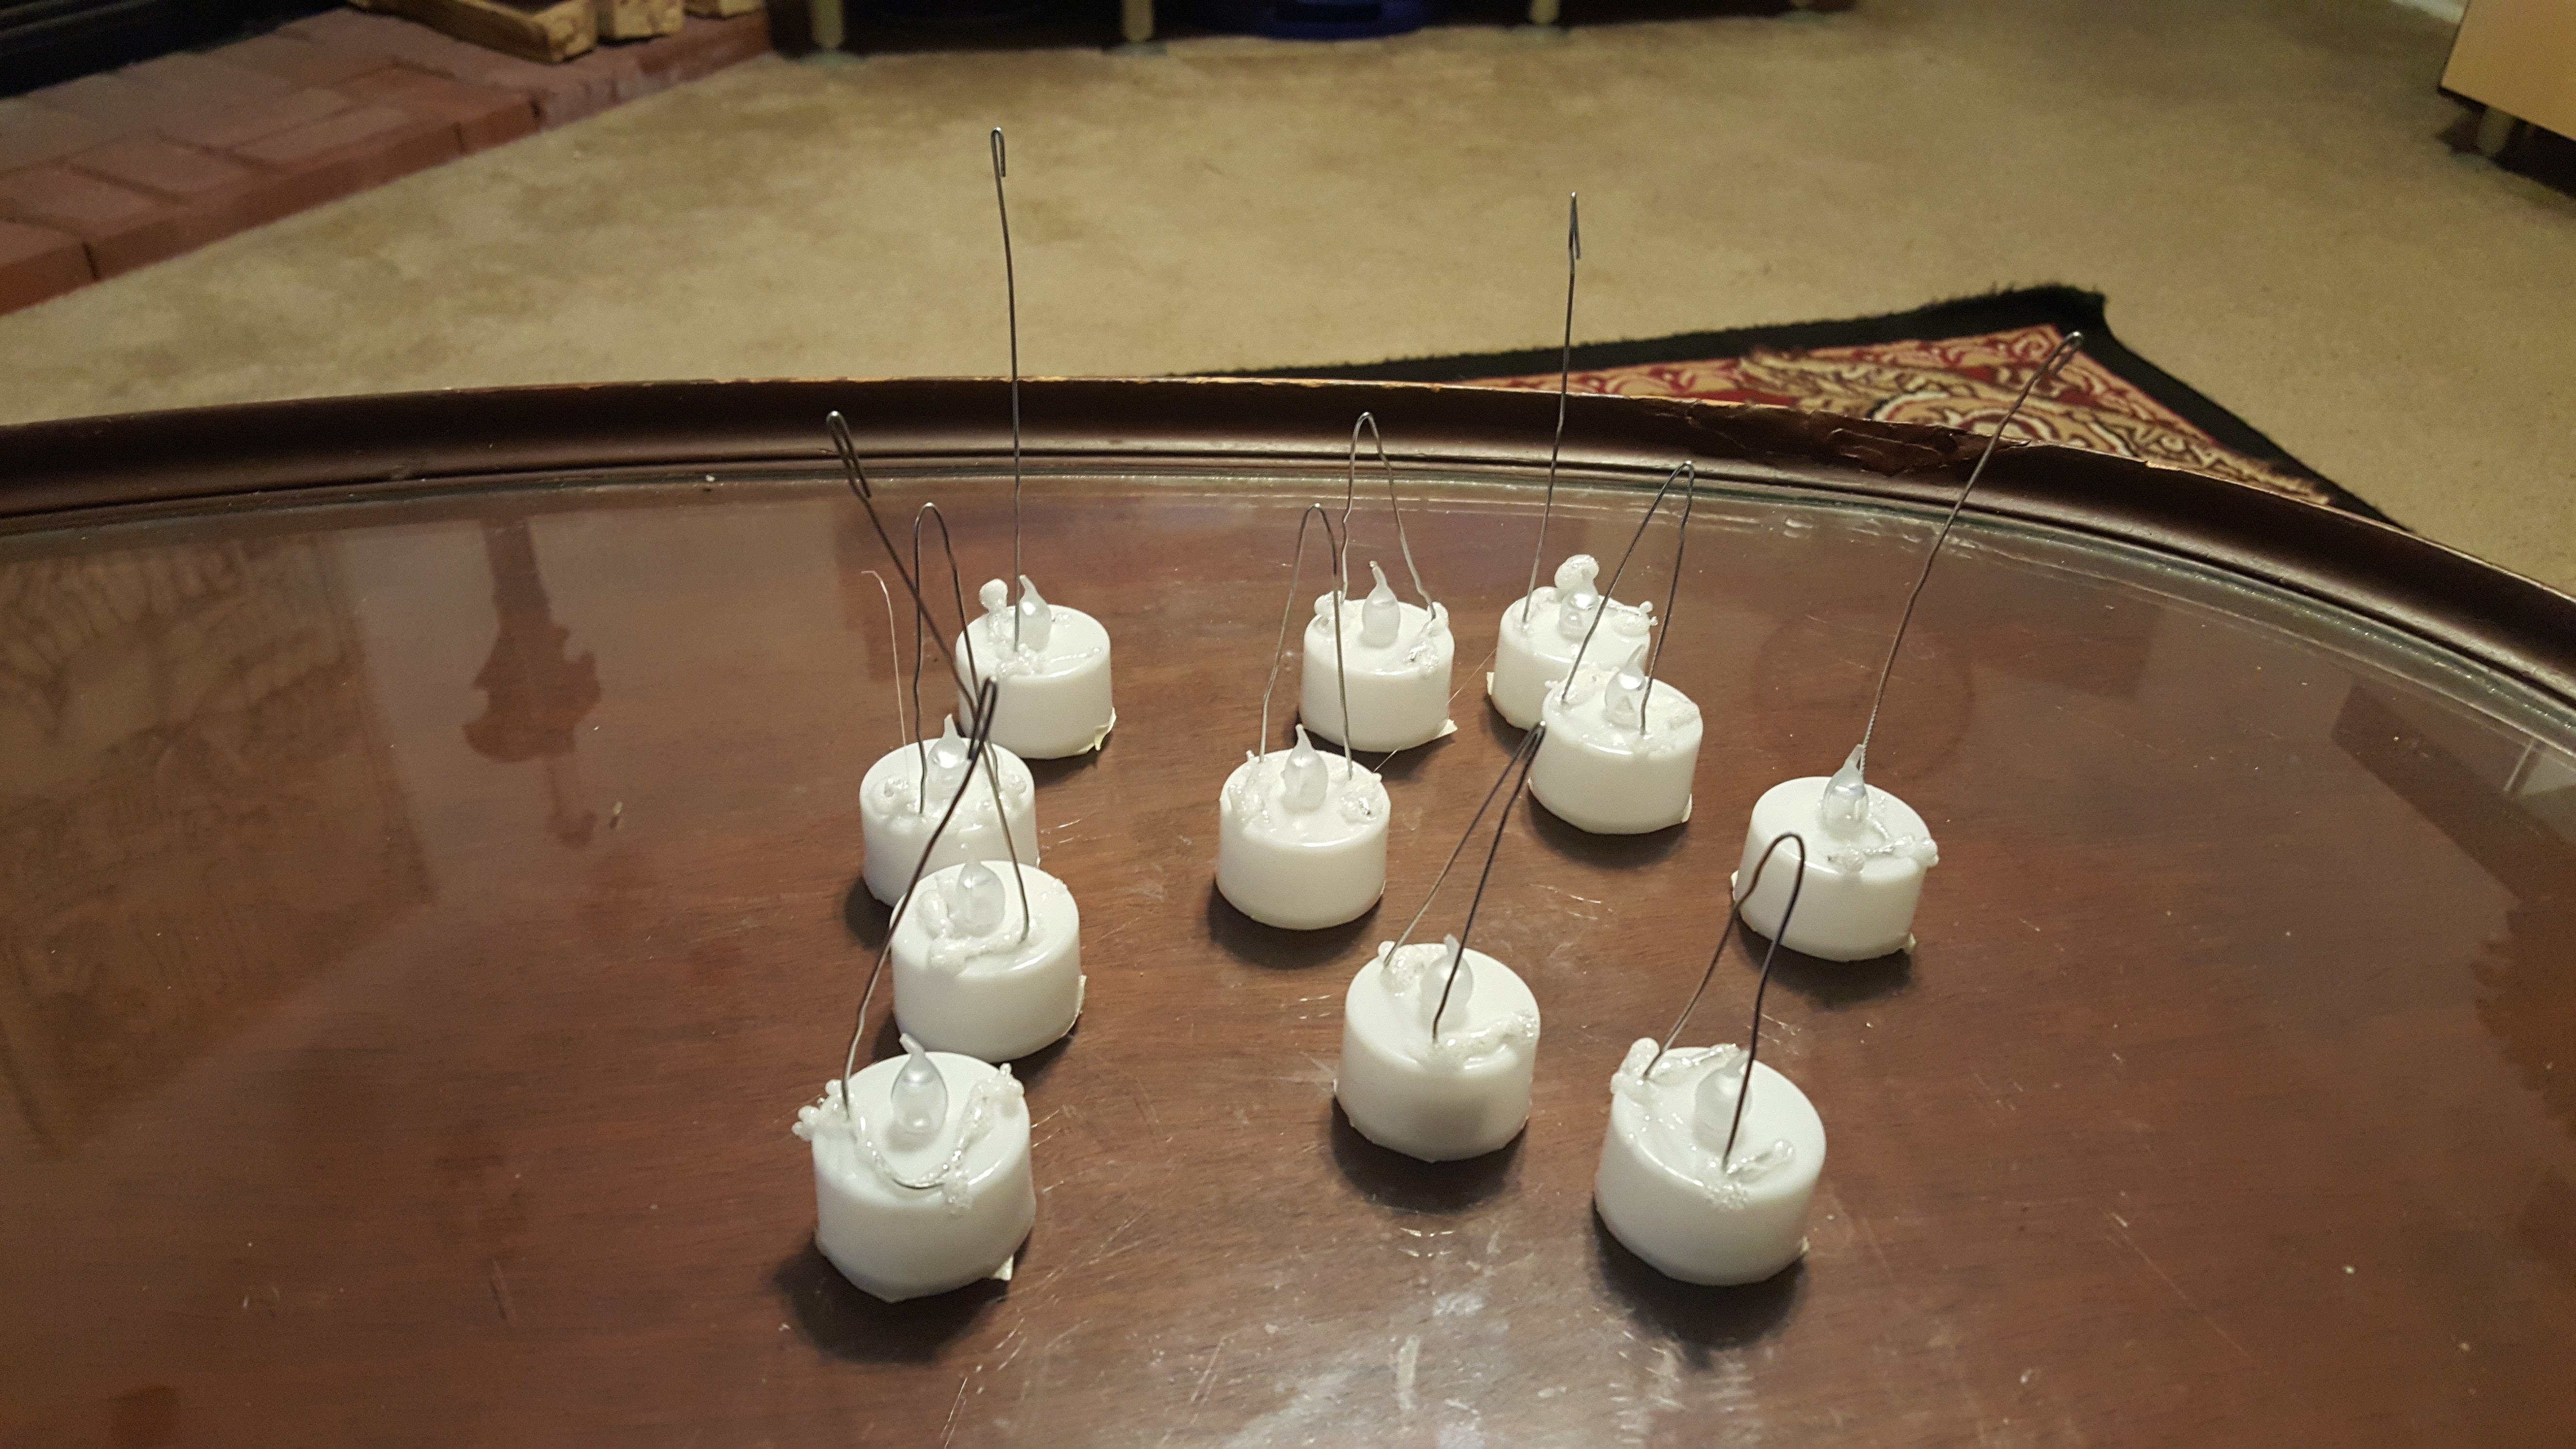 I masked off the bottoms of the candles (where the batteries, electronics, and switches are) and prepped the “smoke” portion.
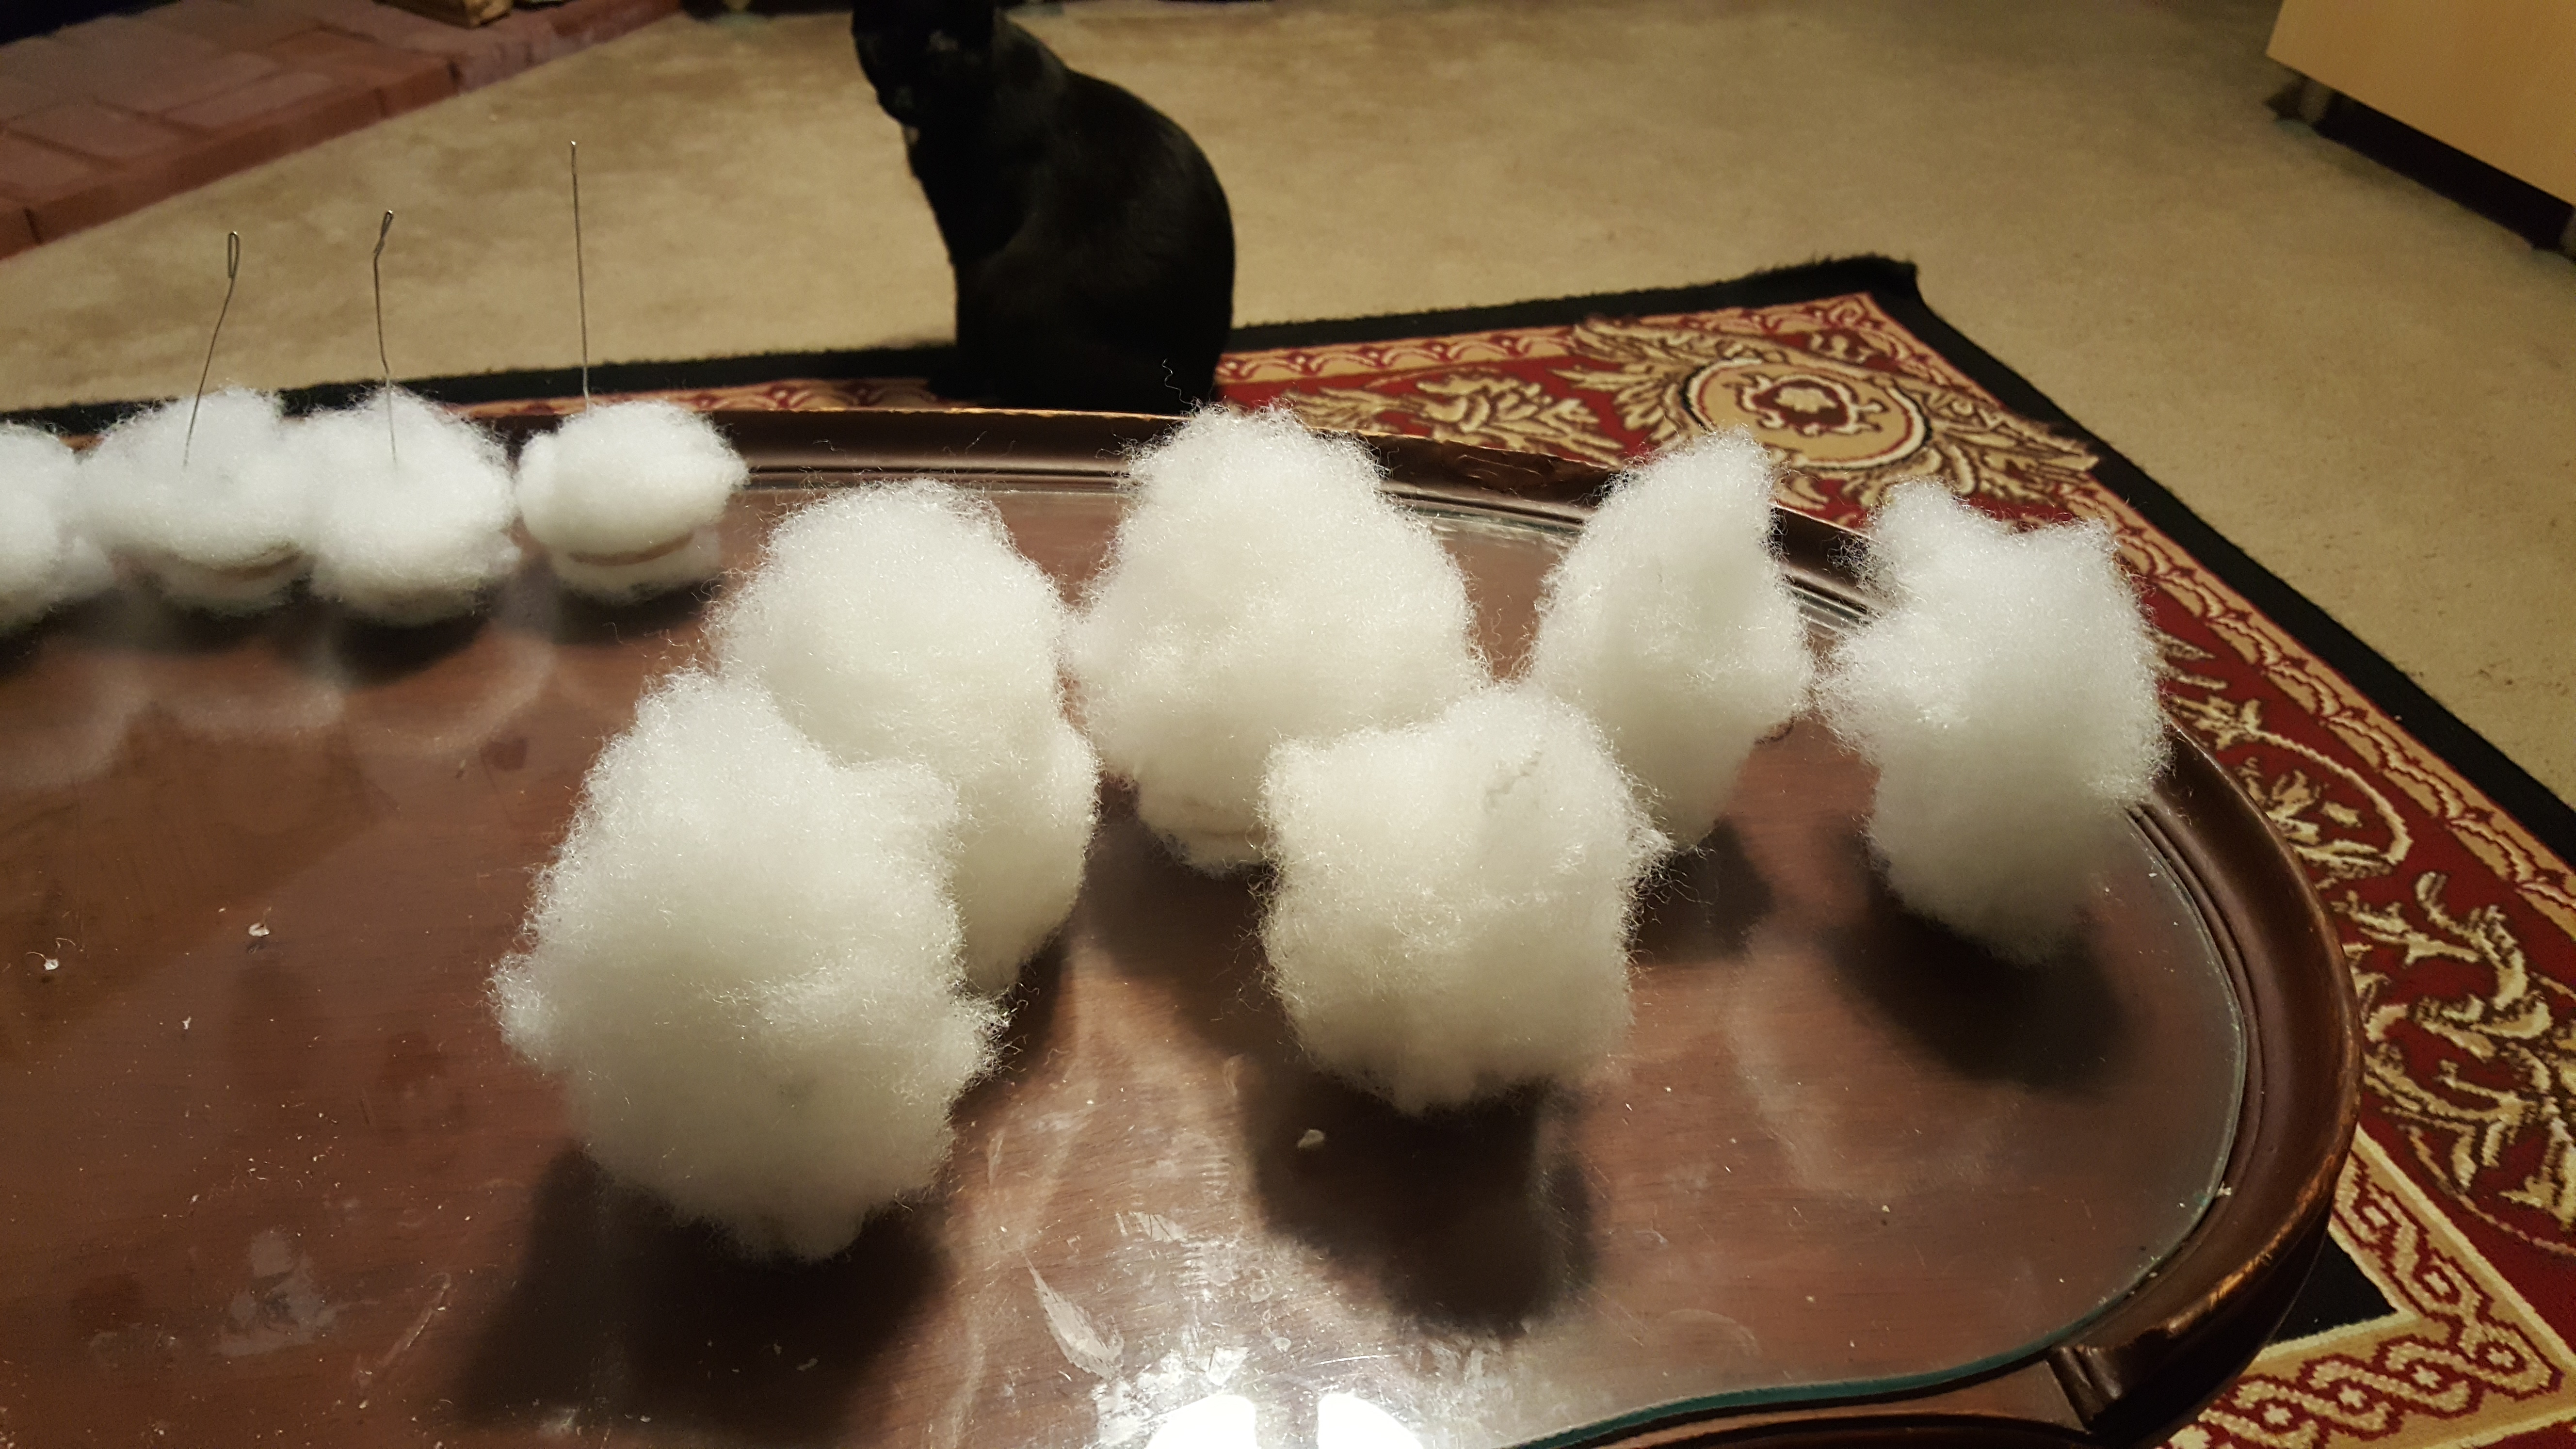
Scorpion started with cotton wool, but I only had access to polyfill, which I got at Walmart for around $4. I used copious amounts of PVA glue on the sides of the candles and shaped some polyfill around the base. I then took various portions of the polyfill and shaped different “smoke” shapes around and on the paperclip bases:


I followed the instructions on the tutorial and spray based them all gray.
 Then added the black spray around the lower portions of each marker.
You can see the finished videos of them below!
